

Shonen TCG · Guides
FB11 Bardock Deck Guide: Brightness of Hope Crew Build
The set's most demanding leader: every turn asks which Crew effect deserves his Ki.
Our callBuild Bardock if you enjoy recursion and careful sequencing; skip him if you want a deck that plays itself, because every turn hinges on spending Ki on the right Crew trigger.
Bardock is the FB11 leader for players who like making choices, and the honest headline of any FB11 Bardock deck guide is that he's the most set-dependent leader in Brightness of Hope. He draws on every attack like the other four, but his Awakened side only does something when Bardock's Crew cards with When KO'd text are sitting in your Drop. The good news: the FB11 list has more of them than it first looks, because every Great Ape gets cheaper in the Drop with Bardock as your leader.
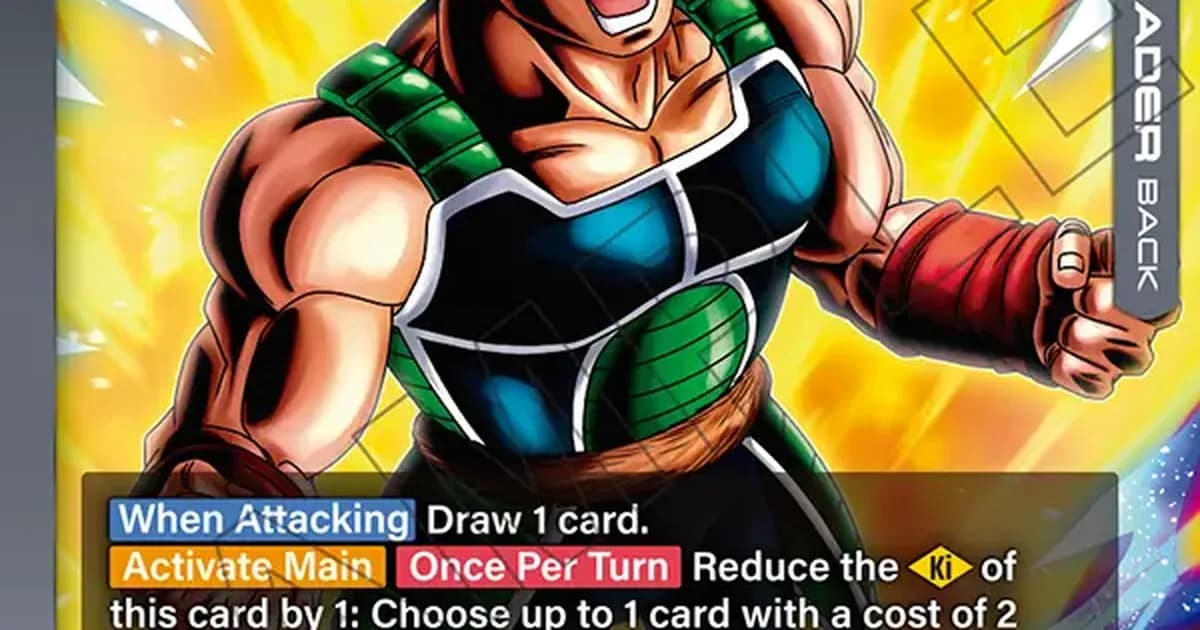
TL;DR: Bardock (FB11-097, Black) draws 1 When Attacking on both sides. He Awakens when he himself holds 2+ Ki, drawing 1 as he flips. Awakened, once per turn he can remove 1 of his Ki to fire the When KO'd skill of a cost-2 Bardock's Crew card in your Drop, then bottom it. The four cost-2 Crew cards that add Ki on play are the engine; the four Great Apes are the payoff.
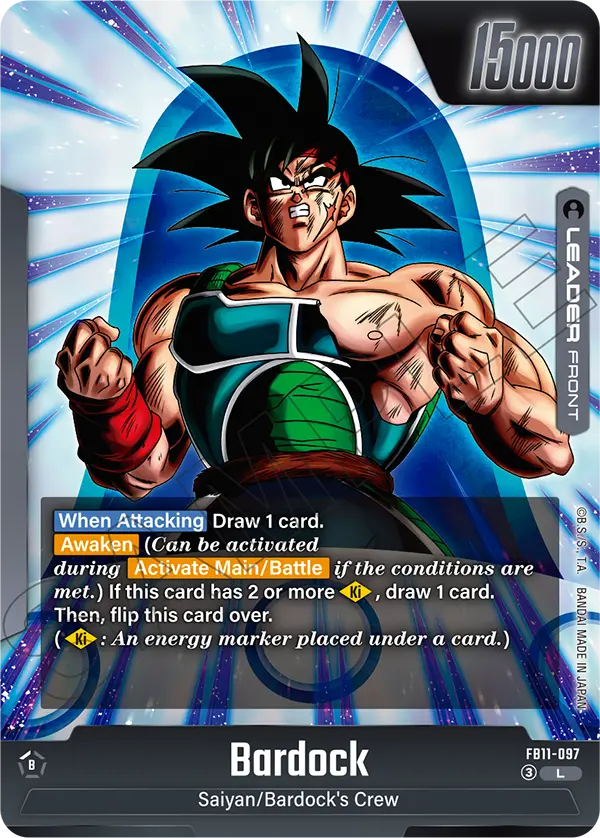 Image: Bandai, Bardock FB11-097 Leader card (front).
How the leader actually plays
Front side. [When Attacking] draw 1, and an Awaken that checks only this card: 2 or more Ki on Bardock himself. Ki on your Battle Cards doesn't count, so every Ki source in the deck has to say "your Leader".
Back side. Still draws 1 When Attacking. The new part is an [Activate Main] once per turn: reduce Bardock's Ki by 1, choose a card in your Drop with a cost of 2 and the Bardock's Crew trait, and activate its When KO'd skill. That card then goes to the bottom of your deck, so each one fires once per trip through the Drop.
When KO'd doesn't mean "left play". Bardock skips the KO entirely and reads the skill straight from the Drop, so a card you discarded or traded off in combat both work.
Which cards the leader can actually fire
The leader asks for "a cost of 2", and the Great Apes are printed at cost 3. Each one carries the same Permanent line: if your Leader is Bardock, it costs 1 less in its owner's Drop. In practice, that makes all four Great Apes legal targets.
| Card | Cost | When KO'd effect the leader can fire |
|---|---|---|
| FB11-100 Fasha (Great Ape) | 3, 2 in Drop | An opposing Battle Card with original cost 5 or less can't attack until the end of the opponent's next turn |
| FB11-107 Tora (Great Ape) | 3, 2 in Drop | Your Bardock Leader gets +10000 for the turn |
| FB11-109 Borgos (Great Ape) | 3, 2 in Drop | Pay 1 more leader Ki: KO an opposing Battle Card costing 4 or less |
| FB11-117 Shugesh (Great Ape) | 3, 2 in Drop | Discard 1: add a cost-2-or-less Bardock's Crew Battle Card from the Drop to hand |
| FB11-106 Tora | 2 | Pay 1 energy and remove Ki from your Leader: a Bardock with original power 25000 gets +5000 per Ki removed |
| FB11-114 Bardock's Crew (SR) | 2 | Draw 1, put 1 card from hand on top or bottom of the deck, then +1 leader Ki if any were removed this turn |
Two rulings matter here. Firing Borgos from the Drop still costs its own Ki, so that removal is a 2-Ki play. And Shugesh can add itself back after its own When KO'd, so it's a loop piece, not a one-shot.
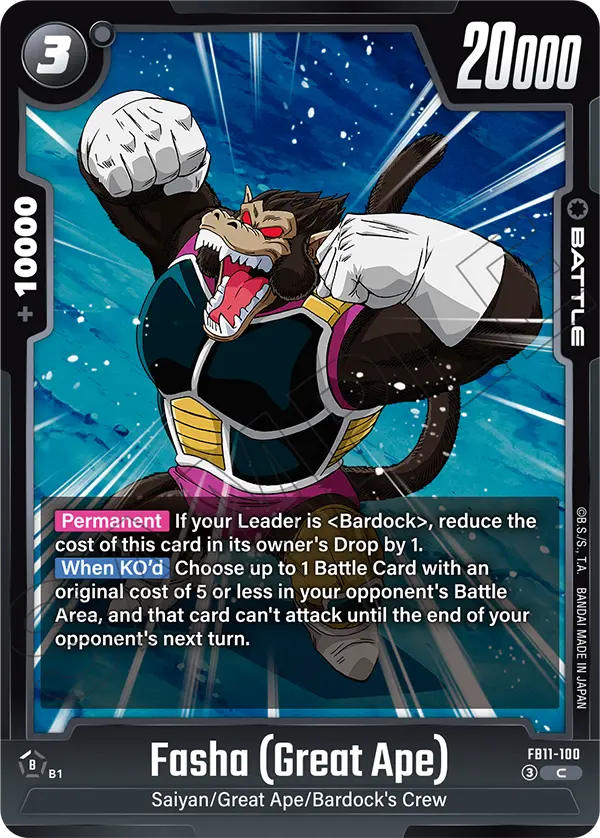 Image: Bandai, Fasha (Great Ape) FB11-100 Battle card.
The Ki engine
FB11-099 Fasha, FB11-106 Tora, FB11-108 Borgos and FB11-116 Shugesh all cost 2 and say the same thing on play: your Leader gets +1 Ki. Two of them flip Bardock. Three of them also unlock their own Activate Main: once the leader has 3 or more Ki, Fasha, Borgos and Shugesh can each go to the Drop to put their Great Ape version into play from hand.
Faster options exist. FB11-112 Bardock (SR, cost 3) adds 1 leader Ki and can spend one to stand back up after attacking. FB11-123 Bardock, the SCR, adds 2 Ki on its own, which is a one-card Awaken if you can get one.
FB11-110 Bardock (cost 1) looks at four cards for any Crew card, and FB11-119 Bloodstained Vow draws two, then plays a 25000-power Bardock or a cost-2-or-less Saiyan from hand once the leader has 3+ Ki and your Drop holds 4+ Battle Cards.
Opening-hand odds (our math)
Fusion World decks run 50 to 60 cards with up to four copies of a card number, you start with six cards, and each player may redraw once. With all four cost-2 Ki cards at four copies (sixteen cards in a 50-card deck), exact odds:
- At least one in your opening six: 91.5%, or 99.3% if you redraw every hand without one.
- At least two, enough to Awaken without help: 63.5%, or 86.7% if you redraw every hand with fewer than two.
So the first Ki is free; the second is a coin flip weighted your way. That's the case for FB11-110 and FB11-112 over a fifth Ki body.
Matchups and sequencing
Against wide, aggressive boards, the Great Apes are your stabilizers. Fasha (Great Ape) stops an attacker, Borgos (Great Ape) KOs a cost-4-or-less card. Both can be fired from the Drop once you're Awakened, but Borgos costs two Ki that way, so check you won't drop below what the turn needs.
Against slower decks, set up selection first. FB11-110 finds Crew, and FB11-111 Bardock arranges your top three cards on play.
Sequencing rule: do the big Ki plays first. If you plan to cast Bloodstained Vow or Fasha's Great Ape swap this turn, they need 3+ leader Ki, and the leader's recursion spends one. Fire the recursion last.
Fans noticed during reveal season. "Im seeing the Bardock love and I'm loving it," wrote u/No_Ragrets76 in one r/DBSFusionWorld reveal thread.
Our take
We'd build Bardock second, after a simpler FB11 leader, because the engine punishes autopilot: one Ki spent in the wrong order costs you the 3-Ki threshold that much of the Crew cares about. Once it's running, though, every Great Ape in the Drop is a repeatable removal or protection piece, and that's more value than the leader text suggests on a first read. Skip him if you'd rather not count Ki every turn.
How we checked this
Every card here was read on Bandai's official Fusion World card database on October 14, 2026, including all Black FB11 cards from FB11-097 to FB11-120 plus FB11-123, to list exactly which cards the leader can fire. Rulings come from Bandai's FB11 Q&A (Borgos and Shugesh), deck rules from the basic-rules FAQ. The opening-hand figures are exact hypergeometric odds we worked out for a 50-card deck; we haven't played the deck, and no English FB11 results exist yet. Twenty-nine sources in total.
Related Reading
- Dragon Ball Fusion World FB11 Brightness of Hope Set Guide: all five leaders, confirmed facts, and what to buy
- Dragon Ball Fusion World FB11 Leaders: All 5 Revealed: card text for all five leaders side by side
- Dragon Ball Fusion World Ki Mechanic Explained: how Ki works, which this deck spends every turn
- Dragon Ball Fusion World Best Leaders FB10: how the previous set's leaders settled out, for context
- Dragon Ball Fusion World Complete Guide 2026: rules overview and format context
References
Was this guide helpful?
About the author
Card values and pull rates
Pen name for the Shonen TCG desk's card value, pull rate and collector market coverage.
- Prices read from TCGplayer and Cardmarket listings, dated
- Pull rates tied to a stated sample
- Opinions marked as ours, with the reason
Keep reading
FB11 Goku Black Deck Guide: Green Ki Snowball Build
Guides · 7 min
Fusion World Regionals 2026: All 22 Wave 2 Dates and Prizes
Guides · 11 min
Dragon Ball Fusion World FB11 Set Guide: Brightness of Hope
Guides · 9 min
Dragon Ball Fusion World FB11 Leaders: All 5 Revealed
Guides · 6 min
FB10 Boujack Deck Guide: The Yellow Aggro Ki Build
Guides · 8 min
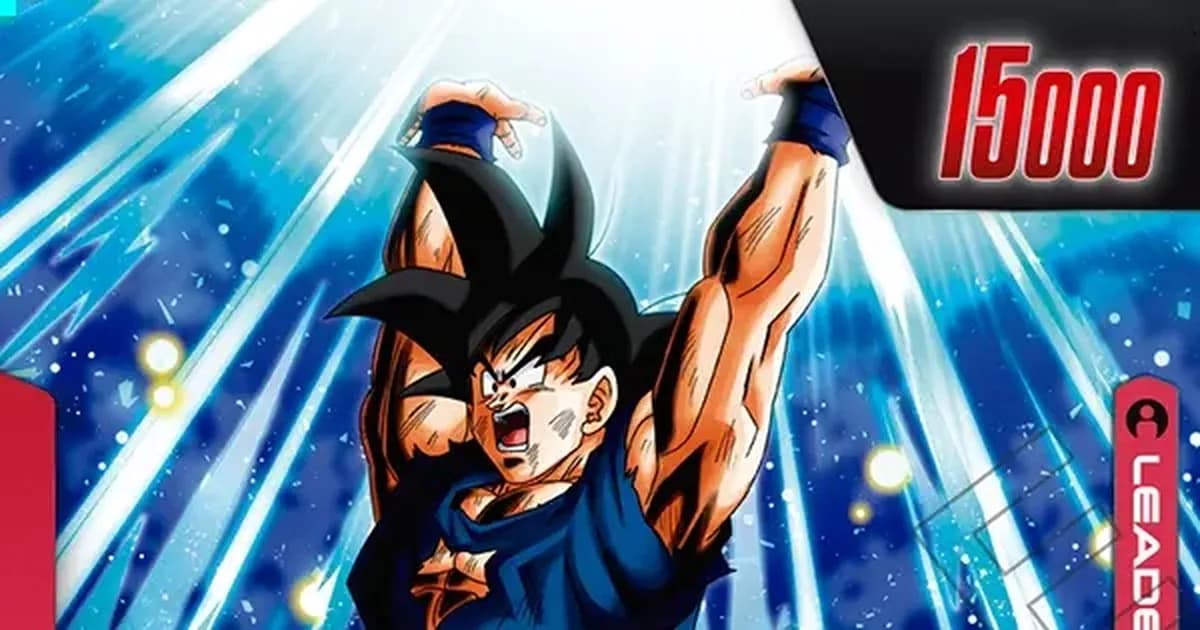
FB10 Son Goku Ki Deck Guide: The Beginner-Friendly Build
Guides · 9 min

Dragon Ball Fusion World Card Grading: Worth It in 2026?
Guides · 12 min

Dragon Ball Fusion World Most Expensive Cards (2026)
Guides · 6 min
Disclaimer
This article is published for informational and entertainment purposes. It does not constitute professional financial, legal, or technical advice. Game performance, online services, patch schedules, and store listings change. Verify critical details (pricing, system requirements, regional availability) with publishers and storefronts before you buy. Affiliate links, where present, help support our editorial work and are labelled in our affiliate disclosure.