

Shonen TCG · Guides
One Piece TCG Colors: All 6 Colors and Deck Rules (2026)
One Piece TCG colors come in six: red, green, blue, purple, black and yellow. Your Leader decides which you play, because a deck can only include cards of a color on the Leader card, so a multicolor Leader can run more than one.

TL;DR: One Piece TCG colors explained: Red (aggression), Green (board control), Blue (tempo), Purple (resource acceleration), Black (cost-based removal and trash recursion), Yellow (life manipulation and utility). Pick Red for direct pressure, Green for board control, Blue for disruption, or Purple for ramp. No color is permanently strongest; the Leader and current format matter too. Updated September 30, 2026: Green Dracule Mihawk was a strong September example, but Bandai makes OP14-020 a Banned Card effective October 12, 2026. Check the One Piece TCG banlist and effective dates before using a named Leader as a current Standard recommendation.
One Piece TCG colors explained: quick answer
One Piece TCG's color identity is determined by your Leader card. Your 50-card deck must use cards that share at least one color with that Leader, so a multicolor Leader can support more than one color. This constraint gives each deck a clear identity, while the Leader determines the exact strategy. If you're still learning the rules, the One Piece TCG beginner guide explains turn structure and the DON system before diving into color archetypes.
| Color | Playstyle | Resource Mechanism | Example Leader | Best For |
|---|---|---|---|---|
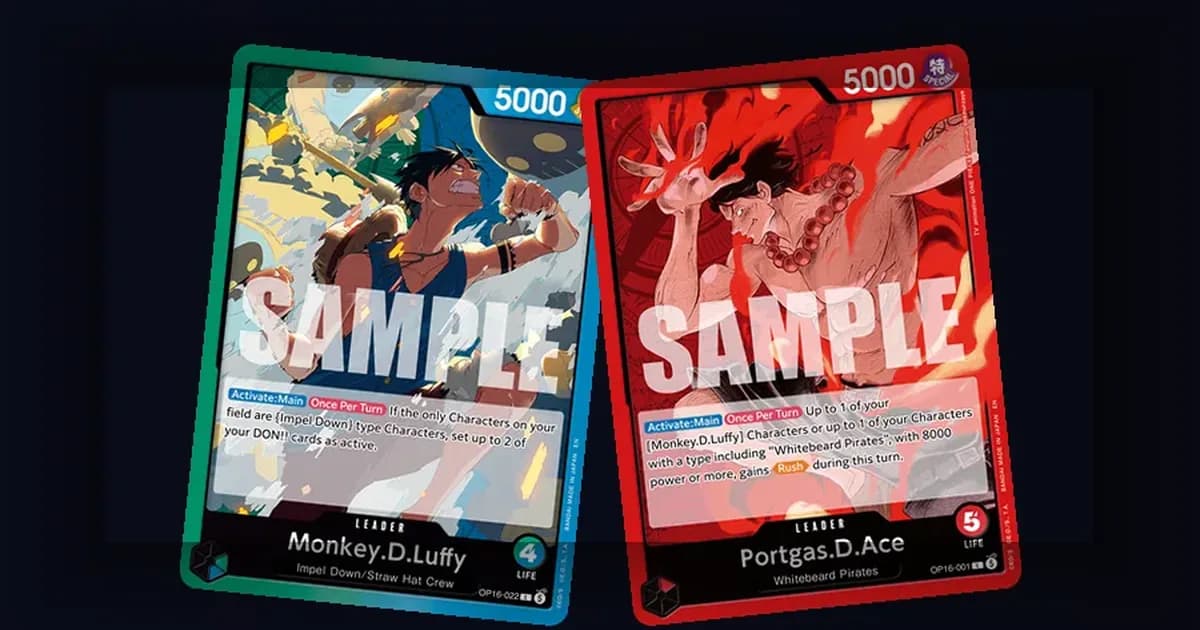
| Red | Aggressive offense | Direct damage, early tempo | 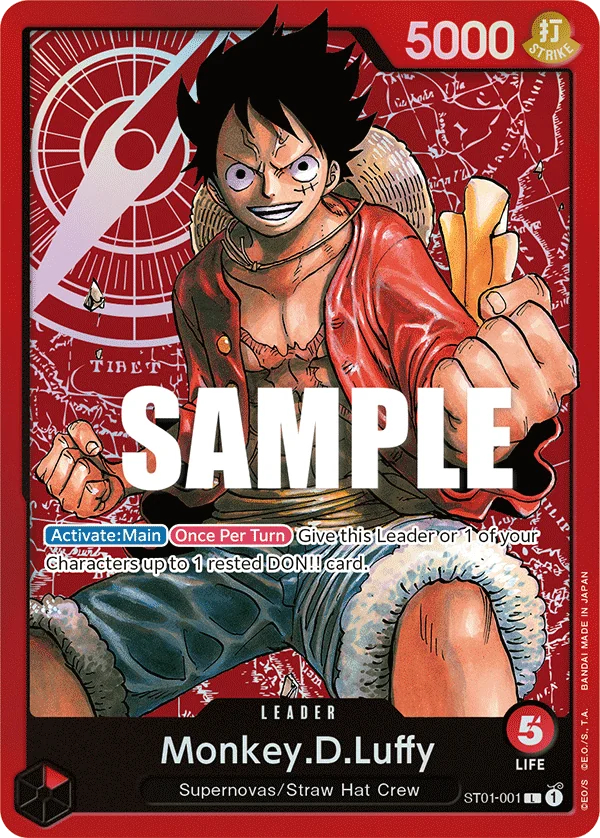 ST01-001ST01-001Shop on TCGplayer Luffy ST01-001ST01-001Shop on TCGplayer Luffy | Players who attack every turn |
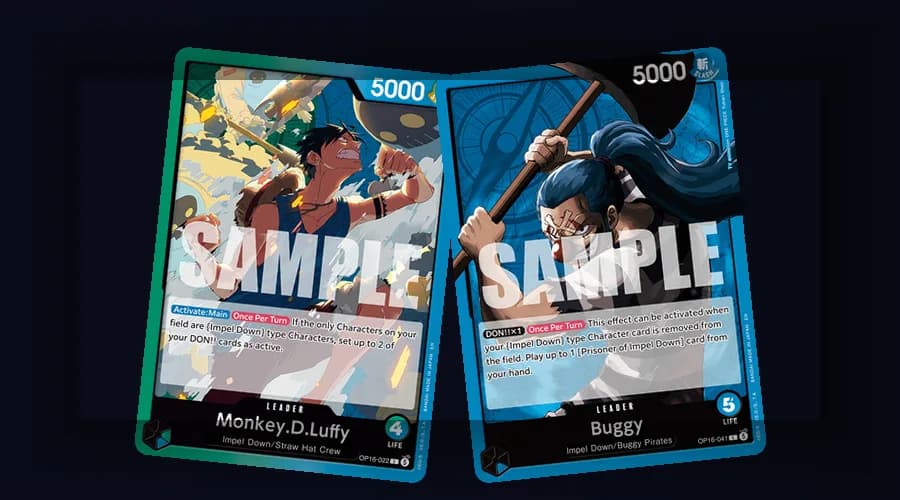
| Green | Board control | Tapping/resting opponents | 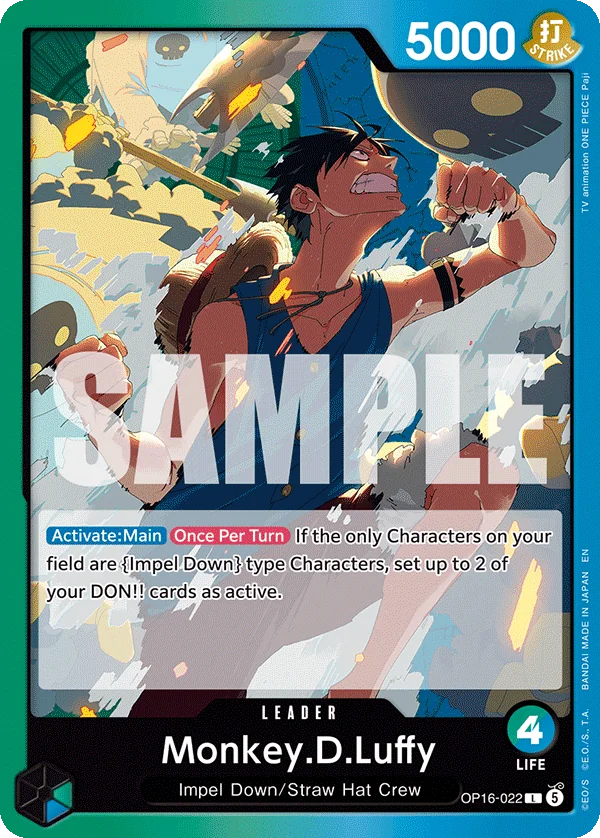 OP16-022OP16-022Shop on TCGplayer Luffy OP16-022OP16-022Shop on TCGplayer Luffy | Defensive, methodical thinkers |
| Blue | Tempo removal | Bounce, return, disruption | 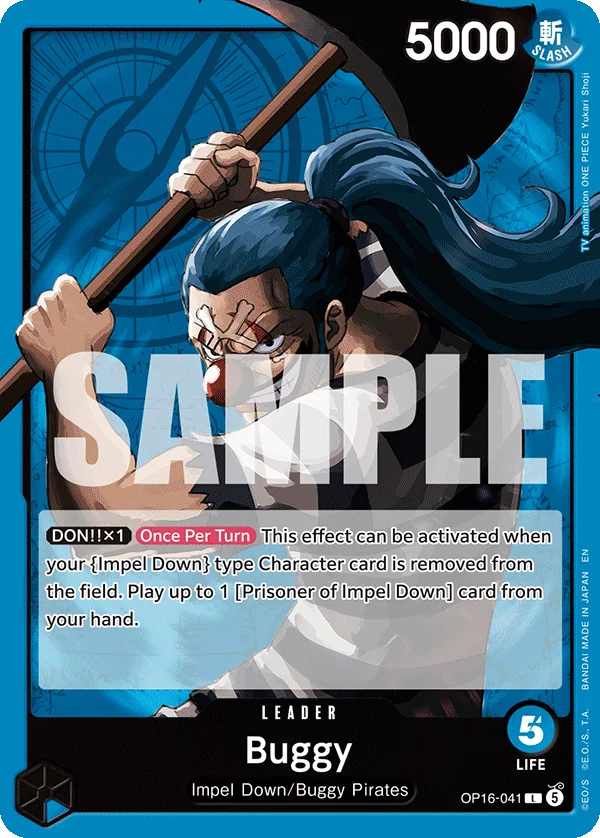 OP16-041OP16-041Shop on TCGplayer Buggy OP16-041OP16-041Shop on TCGplayer Buggy | Players who like interactive plays |
| Purple | Resource acceleration | DON ramp, early big plays | Purple Luffy | Players who want mana advantage |
| Black | Advanced removal | Cost-threshold K.O., trash recursion | Yamato | Skilled players optimizing value |
| Yellow | Healing and utility | Life gain, recovery mechanics | Yellow Luffy | Niche playstyle, experimental |
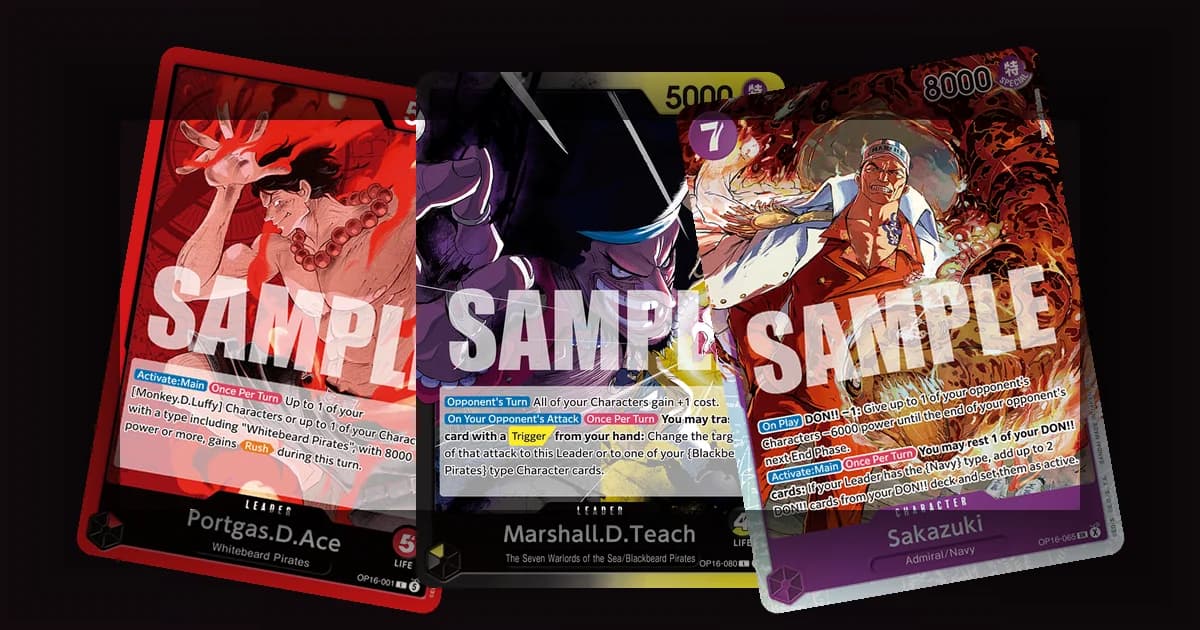
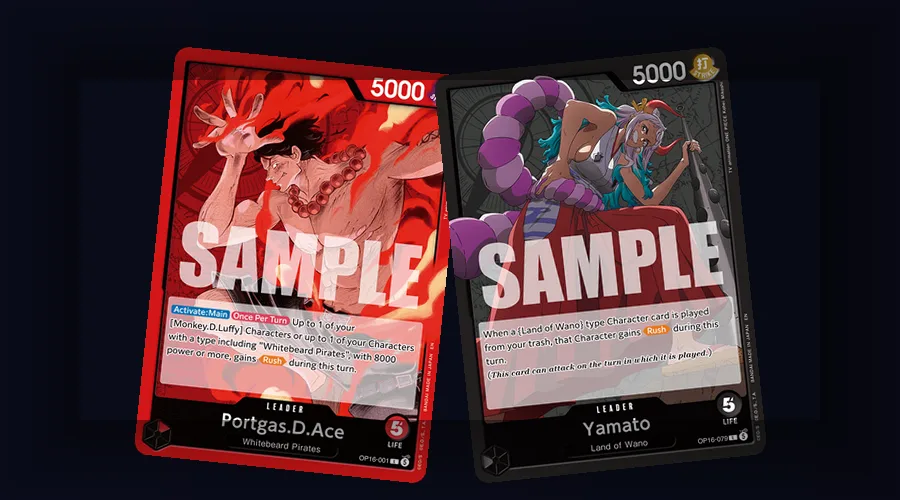 The image shows a Red Ace Leader and a Black Yamato Leader, two examples of how color identity shapes deck plans.
Red: Straightforward Aggression
Playstyle: Red plays the simplest strategy; deal damage, attack, repeat. Few tricks, few decisions per turn.
Mechanics:
- Like every Leader in the game, Red leaders have no DON!! cost, only Life and Power (most sit at 5000 Power with Life around 4 to 5); their abilities lean toward direct DON!! or power boosts
- Red support cards are cheap and efficient: high power-per-cost ratio
- Aggressive lists aim to establish attackers early and convert that board into repeated pressure.
- Removal is minimal. You don't control the board; you race the opponent's clock.
Play Pattern:
- Turn 1 to 2: Play cheap Red characters, establish attackers
- Turn 2 to 3: Start attacking repeatedly
- Turn 3 to 5: Escalate pressure, end the game before they set up their strategy
Learning Curve: Extremely low. Your turn plays out the same way: play characters, attack, pass. New players grasp Red within one game. If you haven't learned the turn structure yet, the One Piece TCG how to play guide covers the full sequence before you pick a color.
When to pick Red:
- You hate thinking five turns ahead
- You like fast, satisfying wins
- You want to learn the turn structure without complex decisions
- You prefer playing "fair" Magic-style decks without tricks
For new players, the ST-01 Red Luffy starter deck is the easiest way to experience this color in action.
Card Transfer Overlap: High for generic aggressive tools, though the exact overlap depends on the Leader and card pool.
Green: Control and Board Dominance
Playstyle: Green controls the board by tapping and resting opponent's characters. You prevent their attacks while you develop your own threats.
Mechanics:
- Green leaders have no DON!! cost either, just Life and Power like every Leader (typically 5000 Power, Life around 4 to 5); their abilities are what provide the tapping/resting effects
- Green support cards tap enemy characters on cast or when you attack
- When an opponent's attacker is tapped, it can't attack. You control when they act.
- Green offense is moderate. You win through attrition, not burst damage.
Play Pattern:
- Turn 1 to 2: Play Green characters with tapping effects
- Turn 2 to 3: As opponent plays threats, you tap them before they attack
- Turn 3 to 5: Their board shrinks, yours grows unchallenged
- Win condition: Their board is tapped out, you chip damage freely
Learning Curve: Medium. You need to recognize when to tap (block their fastest threat or stall their development). Reading the meta helps.
When to pick Green:
- You like reactive play ("I respond to what you do")
- You enjoy long, grindy games
- You want to feel in control of the board state
- You like the defensive playstyle from Magic's Green ramp strategies
Card Transfer Overlap: Moderate. Green's tapping synergies are often Leader-specific, while generic counters and utility cards may transfer.
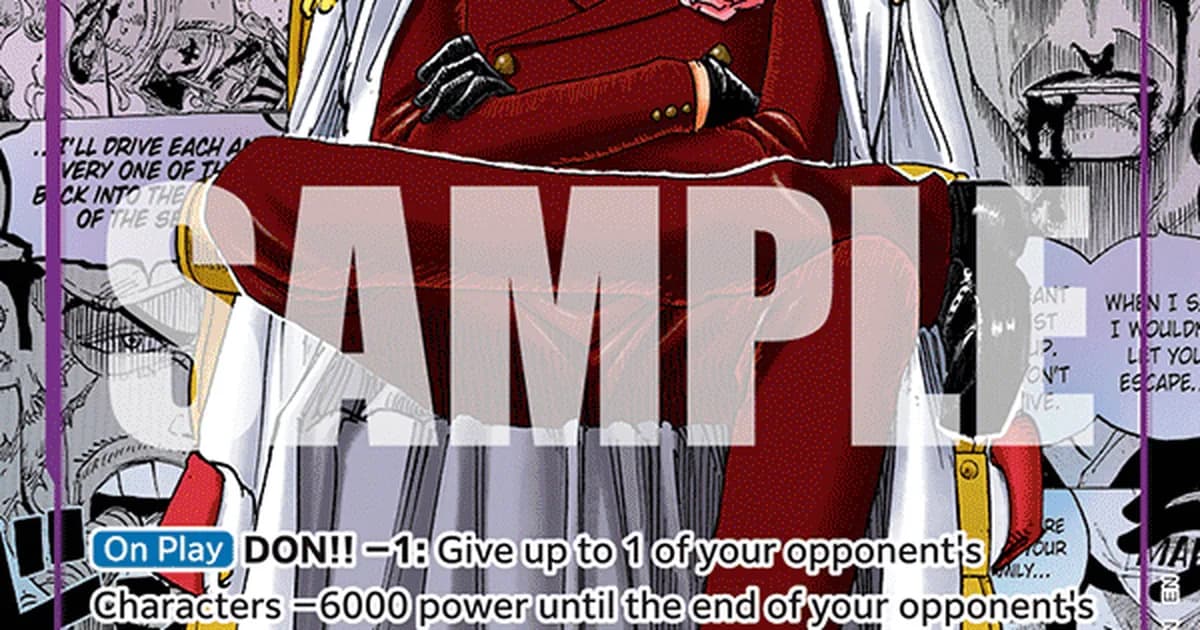
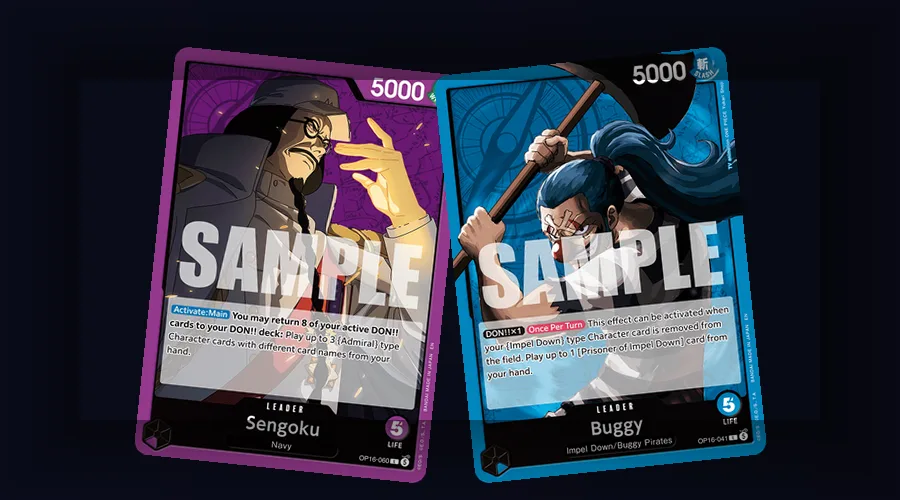 The image shows Purple Sengoku and Blue Buggy, contrasting resource acceleration with tempo disruption.
Blue: Tempo Removal and Disruption
Playstyle: Blue plays on the opponent's turn by bouncing (returning to hand) or removing their cards. You turn their plays against them.
Mechanics:
- Blue leaders have no DON!! cost either, just Life and Power like every Leader (typically 5000 Power, Life around 4 to 5); their abilities are what provide the bounce or disruption effects
- Blue events cost DON and bounce an opponent's character or return a card to hand
- Bounce is repeatable; you can bounce the same threat multiple times
- Blue's offense is built around tempo: they waste resources replaying cards
Play Pattern:
- Turn 1 to 2: Hold DON and event cards in hand
- Turn 2 to 3: When opponent plays a threat, bounce it (now they replayed it twice for half the value)
- Turn 3 to 4: Their resources are drained; your board develops untouched
- Win condition: They run out of resources; you chip damage
Learning Curve: Medium-high. You need to know what's worth bouncing (the 6-cost threat is better to bounce than the 2-cost utility card). Meta knowledge matters.
When to pick Blue:
- You like interactive, back-and-forth gameplay
- You enjoy disruption without permanent removal
- You want an intellectual, puzzle-like playstyle
- You appreciate the tempo strategy from Magic's Blue
Card Transfer Overlap: Medium. Bounce effects are usually Blue-specific, while some draw and counter tools can transfer.
Purple: Resource Acceleration and Ramp
Playstyle: Purple gains extra DON (resources) per turn, allowing you to play expensive cards earlier than your opponent. You ramp into big threats. The One Piece TCG DON system guide covers exactly how DON accumulation, attachment, and ramp work, which is essential reading before building a Purple deck.
Mechanics:
- Purple leaders have no DON!! cost either, just Life and Power like every Leader (typically 5000 Power, Life around 4 to 5); their abilities are what provide "gain 1 extra DON this turn" effects
- Purple support cards accelerate your mana curve: +1 DON, ramp 1, etc.
- With successful ramp effects, some Purple lists can reach expensive plays earlier than opponents, but the exact curve depends on the Leader and cards drawn.
- This lets you play 9-cost finishers on turn 4, before they're set up.
Play Pattern:
- Turn 1 to 2: Play ramp cards, gain extra DON
- Turn 2 to 3: Your DON pool outpaces opponents
- Turn 3 to 4: Play expensive, high-impact characters early
- Win condition: Your threats are larger and faster than theirs
Learning Curve: Medium. You need to calculate DON curves and understand why ramping on turn 1 is better than hitting early.
When to pick Purple:
- You like mana ramp strategies (Green in Magic)
- You enjoy a resource-advantage playstyle
- You want to play "I'm playing a bigger threat than you can answer"
- You like building toward a mid-game finisher
Card Transfer Overlap: High for generic ramp tools, but Purple-specific payoffs remain tied to the color and Leader.
Black: Advanced Removal and Trash Recursion
Playstyle: Black removes opponent's threats efficiently through cost-based K.O. effects, no self-damage involved. You intentionally send your own cards to the trash, then replay them later for value. Patient and resource-management focused rather than reckless.
Mechanics:
- Black leaders have no DON!! cost either, just Life and Power like every Leader (typically 5000 Power, Life around 4 to 5); their abilities are what drive the removal and recursion plan
- Black events and character abilities K.O. enemy Characters by cost threshold: pay enough DON!! and the target is destroyed outright, no life loss or card discard required
- Black also sends cards from your own deck or hand to the trash on purpose (self-mill), then replays them later, often with Rush or at reduced cost
- The skill is managing the trash as a second hand: knowing which cards to fill it with early and which to hold for direct play
Play Pattern:
- Turn 1 to 2: Play efficient Black characters, start filling the trash
- Turn 2 to 3: When opponent plays a threat, K.O. it by paying the DON!! cost threshold
- Turn 3 to 5: Replay Characters from the trash, often with Rush or at reduced cost
- Win condition: Your removal keeps the board clear while your recursion engine outpaces their threats
Learning Curve: High. You must track which of your own cards are staged in the trash for later, sequence your DON!! correctly to hit removal thresholds, and know when to hold removal versus start the recursion engine.
When to pick Black:
- You have strong decision-making skills
- You enjoy puzzles and optimization
- You want a skill-testing, resource-management playstyle
- You like planning two or three turns ahead around what's in your trash
Card Transfer Overlap: Low. Black's cost and trash synergies are usually specific to the Leader and card pool.
Yellow: Life Manipulation, Triggers, and Utility
Playstyle: Yellow manipulates Life totals and uses Trigger effects and utility tools to turn defensive resources into pressure. The best plan depends on the Leader and format.
Mechanics:
- Yellow leaders have no DON!! cost either, just Life and Power like every Leader (typically 5000 Power, Life around 4 to 5); their abilities are what provide "gain 1 life" or "draw a card" effects
- Yellow support cards use Life manipulation, Trigger effects, and conditional utility
- Yellow can trade Life for cards or effects, then use its utility to stabilize and create a counterattack
- Yellow offense is low. You win through card advantage and time, not threats.
Play Pattern:
- Turn 1 to 2: Play utility cards, draw extra cards
- Turn 2 to 4: Manage Life and Trigger opportunities while maintaining card advantage
- Turn 4+: After 10+ turns, your card advantage breaks the game open
- Win condition: You convert Life and utility effects into a stronger late-game position
Learning Curve: Medium. You need to evaluate when healing is worth it versus drawing more threats.
When to pick Yellow:
- You want to experiment and explore non-standard strategies
- You like long, grindy attrition games (40+ minute matches)
- You're comfortable being the underdog (Yellow lacks meta dominance)
- You want a "fun" deck for casual play
Card Transfer Overlap: Moderate. Generic counters may transfer, but Life and Trigger synergies are often specific to the Leader.
Step-by-Step: How to Pick and Pilot Your First Color
1. Match your preferred playstyle to a color. Use the table above: Red for attacking every turn, Green for board control, Blue for interactive disruption, Purple for resource ramp, Black for removal-and-recursion puzzles, Yellow for grindy card advantage.
2. Learn your color's win condition before your first game. Red races on Life damage, Green wins through a tapped-out opponent, Blue drains resources through repeated bounces, Purple out-sizes the board with early big threats, Black clears and recurs until the opponent can't keep up, and Yellow out-lasts through card advantage.
3. Play the early turns exactly as your color's play pattern describes. Every color above lists its turn 1-2 opening; follow it directly rather than improvising until you've played a handful of games.
4. Execute the color's mid-game plan on turns 3-5. This is where each color diverges most: Red escalates pressure, Green taps down threats, Blue times its bounces, Purple deploys oversized characters early, Black starts its recursion engine, and Yellow leans on healing and card draw.
5. Close the game using your color's actual win condition, not a generic "attack more" instinct. A Green or Black deck that starts racing like Red usually throws away its structural advantage.
6. After 5-10 games, revisit the table and try a second color. Comparing two colors directly is the fastest way to find which decision-making style actually suits you, rather than guessing from a single color's learning curve.
How Color Matchups Actually Play Out
There's no official or community-tracked matrix that gives a precise win/loss verdict for every color-versus-color pairing, and presenting one as fact would be misleading. Matchups shift constantly based on the specific leaders involved, the exact 50-card list each player built, and the current Standard-format meta, not the color alone.
That said, a few general tendencies hold up across most metas:
- Aggro (Red) pressures slow starts. Any deck without an early defensive plan, enough counters, enough blockers, is vulnerable to Red's fast clock, regardless of color.
- Control and disruption colors (Green, Black) punish decks that depend on a few key Characters. Rest effects and cost-based removal both hurt more when the opponent's plan needs specific cards active or alive to function.
- Tempo (Blue) punishes overcommitment. A deck that dumps its whole hand onto the board gives Blue more targets to bounce for value.
- Ramp (Purple) punishes slow removal. If a deck can't answer an oversized threat quickly, Purple's early power lead compounds turn over turn.
Skilled play with a weaker color beats unskilled play with a stronger one more often than any fixed chart suggests. For current leader-specific performance data instead of color-level guesswork, see the OP-16 meta tier list and the OP-16 All 6 Leaders breakdown. Once you're ready to compete, the One Piece TCG tournament guide explains what to expect at local and regional events.
Related Reading
-
One Piece TCG Card Rarities Explained: Every Tier (2026): One Piece TCG card rarities explained.
-
One Piece TCG Black Deck Guide: Removal and Trash Mastery: A deeper look at Black's removal and self-synergy toolkit beyond this overview.
-
One Piece TCG Purple Deck Guide: DON Ramp and Control: Full breakdown of Purple's DON ramp strategy and top leaders.
-
One Piece TCG Deck Building Guide: Build From Scratch: Once you've picked a color, this walks through assembling your first 50-card deck.
-
OP-16 Complete Guide: Set-specific color analysis and meta shifts
Frequently Asked Questions
Q: Which One Piece TCG color is best for beginners? A: Red is usually the simplest starting point because its aggressive plan is easy to see. Green can suit players who prefer adapting to the opponent, but OP14-020 Green Mihawk is legal only through October 11, 2026, before Bandai's announced ban takes effect.
Q: What is the hardest One Piece TCG color to play? A: Many players find Black, including Black Yamato, the most demanding because cost-based removal and trash sequencing create more decisions. It is better after you know the basic turn flow.
Q: Can I switch colors after building my first deck? A: Yes. Some generic counters, draw tools, and utility cards can transfer, but there is no fixed percentage. Leader-specific payoffs and color requirements determine what stays useful.
Q: Which colors have the best mirrors (same color vs same color)? A: Red mirrors are skill-intensive. Green mirrors revolve around who controls the board first. Blue mirrors are about card advantage. Black mirrors can be grindy. Yellow mirrors are rare (niche color).
Q: How do One Piece TCG colors compare to Magic the Gathering colors? A: Red = aggression (Red mana), Green = control/ramp (Green mana), Blue = tempo removal (Blue mana), Purple = resource acceleration (similar to Blue ramp), Black = removal at a cost (Black mana), Yellow = utility/healing (White mana).
Q: What is the difference between color and leader in One Piece TCG? A: Your cards must share at least one color with your Leader. A multicolor Leader can therefore allow cards from either included color. The Leader also determines the deck's specific mechanics and payoffs.
References
- One Piece Card Game Comprehensive Rules: official color, multicolor, and deck-construction rules
- One Piece Card Game OP-16 product page: official examples of current Leader colors and card archetypes
References
- One Piece Card Game Official Rules: Official color mechanics and leader abilities
- One Piece TCG Card Database: Card database searchable by color
- One Piece Card Game Wiki: Color synergies and archetype guides
- r/OnePieceCardGame: Community discussion of color metagame
- Limited TCG YouTube ; OPTCG Color Guide: Video breakdowns of each color
Was this guide helpful?
Cards in this article
About the author
Pen name for the Shonen TCG desk's tournament coverage, format analysis and cross-game comparisons.
- Results taken from event pages and standings
- Other games checked against their own official rules
- Opinions marked as ours, with the reason
Keep reading
OP-16 Paramount War Leaders & Factions Guide (2026)
Guides · 12 min

One Piece TCG How to Play: Rules & Mechanics (2026)
Guides · 16 min
OP-16 All 6 Leaders Explained: Colors & Which to Build
Guides · 12 min
One Piece TCG OP-16 Guide: Set Review & Leaders (2026)
Guides · 20 min
Best Starter Decks One Piece TCG 2026: Which to Buy
Guides · 11 min
One Piece TCG Beginner Guide 2026: How to Play and Rules
Guides · 13 min
One Piece TCG Manga Rare Cards: Guide & Values (2026)
Guides · 12 min
OP-16 Chase Cards: Best to Pull & Value Guide (2026)
Guides · 12 min
Disclaimer
This article is published for informational and entertainment purposes. It does not constitute professional financial, legal, or technical advice. Game performance, online services, patch schedules, and store listings change. Verify critical details (pricing, system requirements, regional availability) with publishers and storefronts before you buy. Affiliate links, where present, help support our editorial work and are labelled in our affiliate disclosure.